Mango Chiffon Cake Recipe
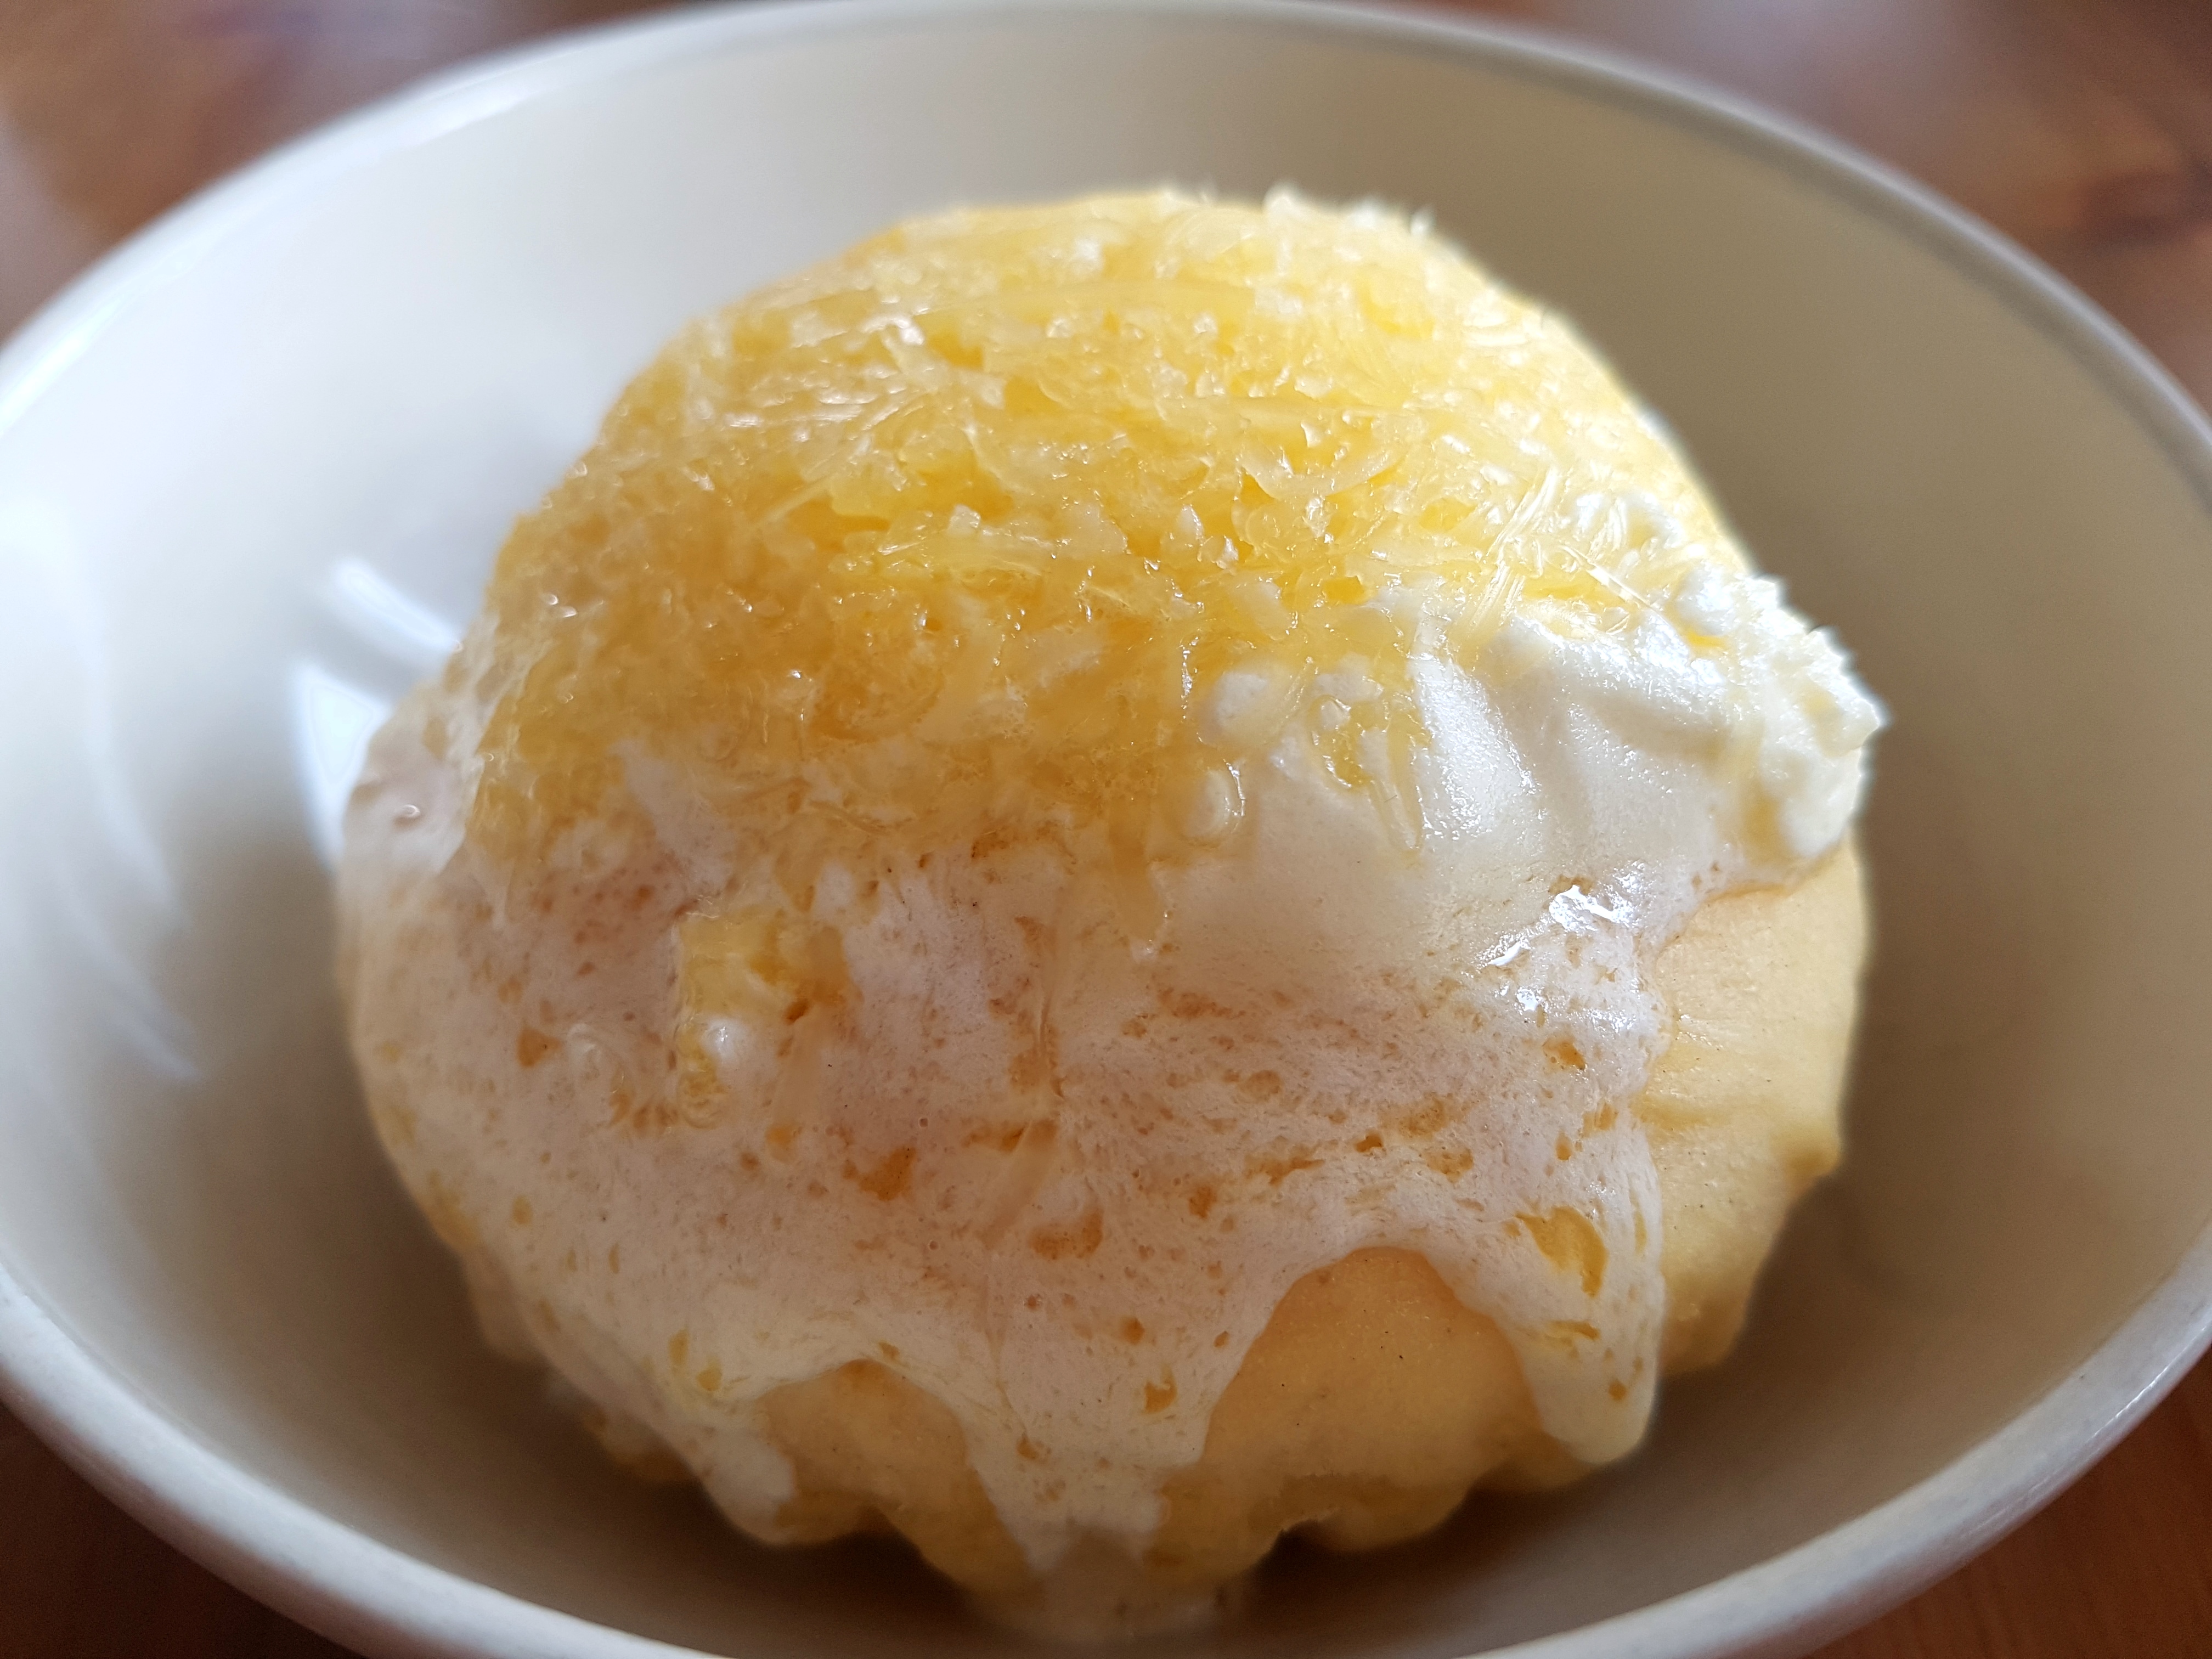
Mango chiffon cake is a tropical dessert (or snack) that is a combination of spongy chiffon cake with the sweet and tropical flavor of mango.
Equipment
- 8"-diameter 3"-inch high pan
- oven
- parchment/baking paper
- large bowls
- electric mixer
- sauce pan
Ingredients
Part 1
- 1 cup sifted cake floor plus teaspoon more
- 1½ tspn baking powder
- ½ tspn salt
- 6 tbspn white sugar for egg yolks
Part 2
- ¼ cup corn/canola oil
- 4 pcs egg yolks at room temperature
- 1½ tspn Mangoness Flavoring w/food color
Part 3
- 4 pcs egg whites at room temperature
- ¼ tspn cream of tar
Part 4
- 6 tbsp white sugar for egg whites
Swiss Meringue Buttercream
- 3 pcs egg whites
- ¾ cup white sugar
- 1 pinch salt
- 1 cup unsalted butter at room temperature cut into small pieces
- 1 tspn Mangoness Flavoring with food color
Instructions
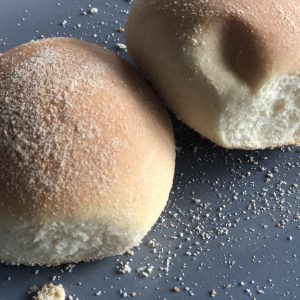
The Sponge
- Preheat oven at 160° C
- In a large bowl, combine Part 1 well. Add in Part B. Beat with an electric mixer or by hand un wisk until smooth and well blended.
- In a separate bowl, beat with an electric mixer Part 3 on high speed until frothy. Gradually add in the sugar Part 4 and beat until stiff peaks are formed.
- Gradually and gently fold in egg whites into egg yolk mixture.
- Pour batter into an ungreased 8” round, 3” high pan.
- Bake for about 30 to 40 minutes or until top springs back when lightly touched. Invertpan into wire rack immediately and cool completely.
- To release cake from pan, carefully run a thin knife around sides of pan and invert cakeonto a cake board.
Swiss Meringue Buttercream
- In a large bowl, combine the egg whites and sugar. Set the bowl over (but not touching) simmering water on a saucepan to heat the mixture. Whisk constantly until the sugar has completely dissolved and the mixture is very warm but can be touched (about 70° C on an instant-read thermometer). After about 2 minutes, remove the bowl from the saucepan.
- Using an electric mixer on high speed, beat the egg white mixture until it is fluffy, cooled to room temperature, and holds stiff peaks (the mixture should not look dry). This process may last for about 6 minutes.
- With the mixer on medium-low speed, add the salt and the butter, a few pieces at a time, beating well after each addition. If the frosting appears to separate or is very liquid after all the butter has been added, continue to beat on high speed until it is smooth and creamy for about 3-5 minutes more. Add Mangoness and beat until combined. Scrape down the sides of the bowl as needed.
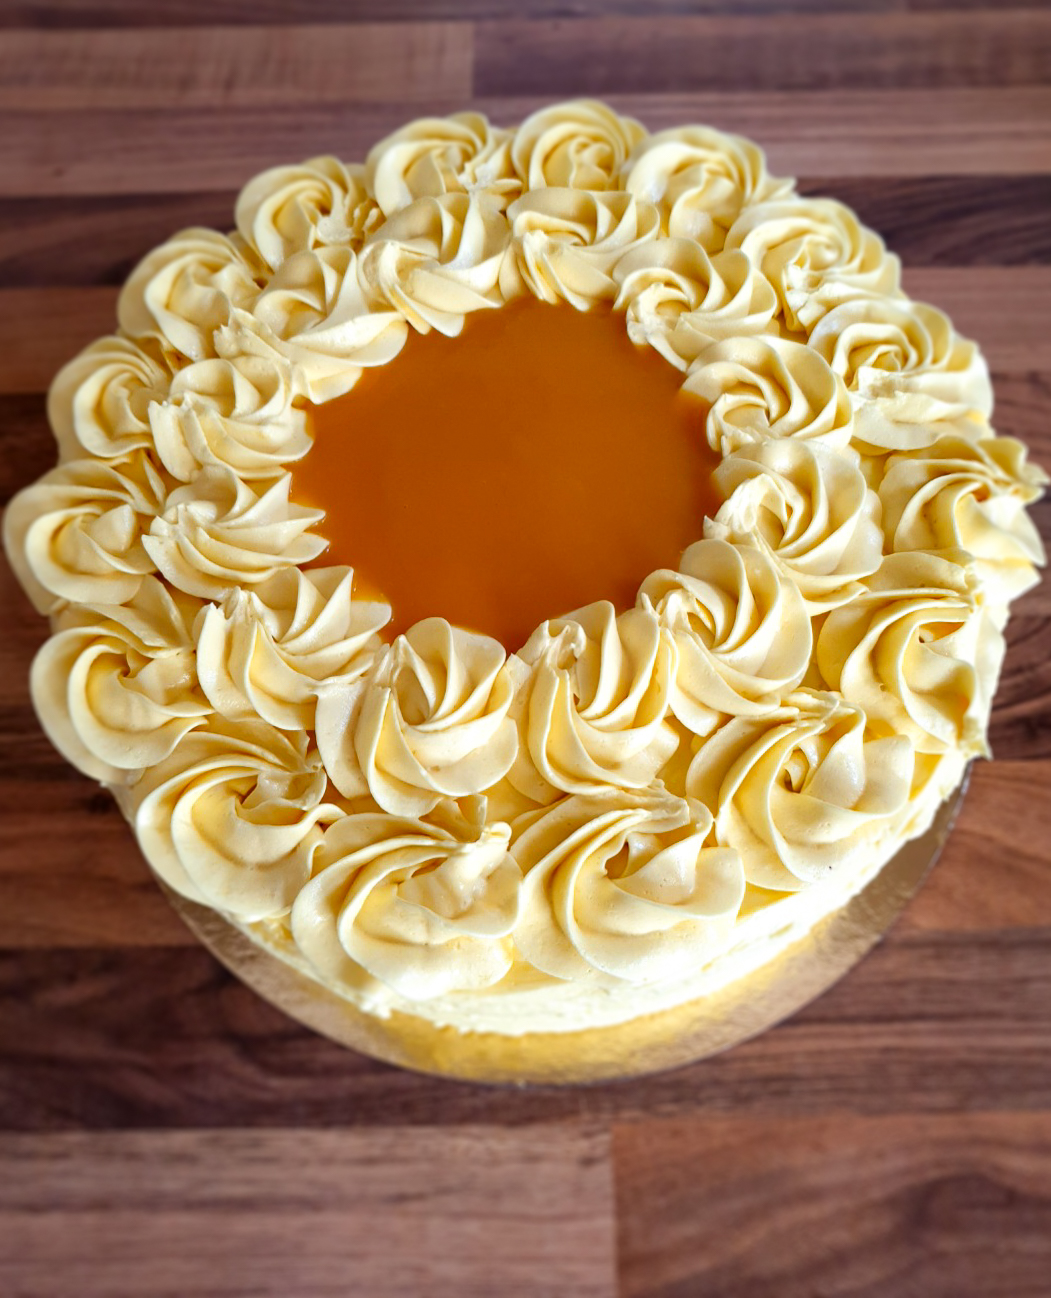
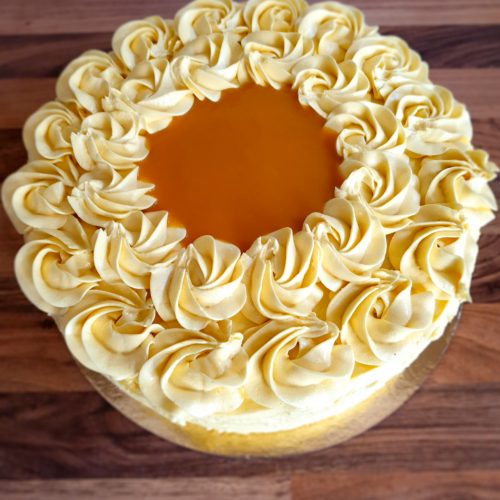
Frosting
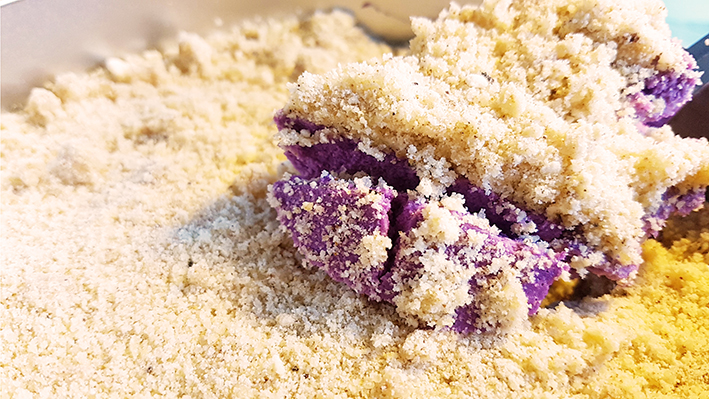
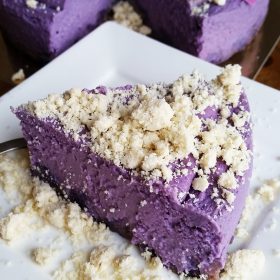
- Cut cake in half horizontally. Fill and frost with buttercream and decorate as desired.